A practical guide to hatching, stippling, contour drawing, and cross-sections — the core techniques for illustrating archaeological objects.
The Archaeology Illustrator's Toolkit
Archaeological illustration has its own visual language — a set of techniques developed over centuries to communicate the form, surface texture, and material properties of objects clearly. You don't need to master all of these to start journaling, but understanding them gives you a powerful vocabulary for your sketches.
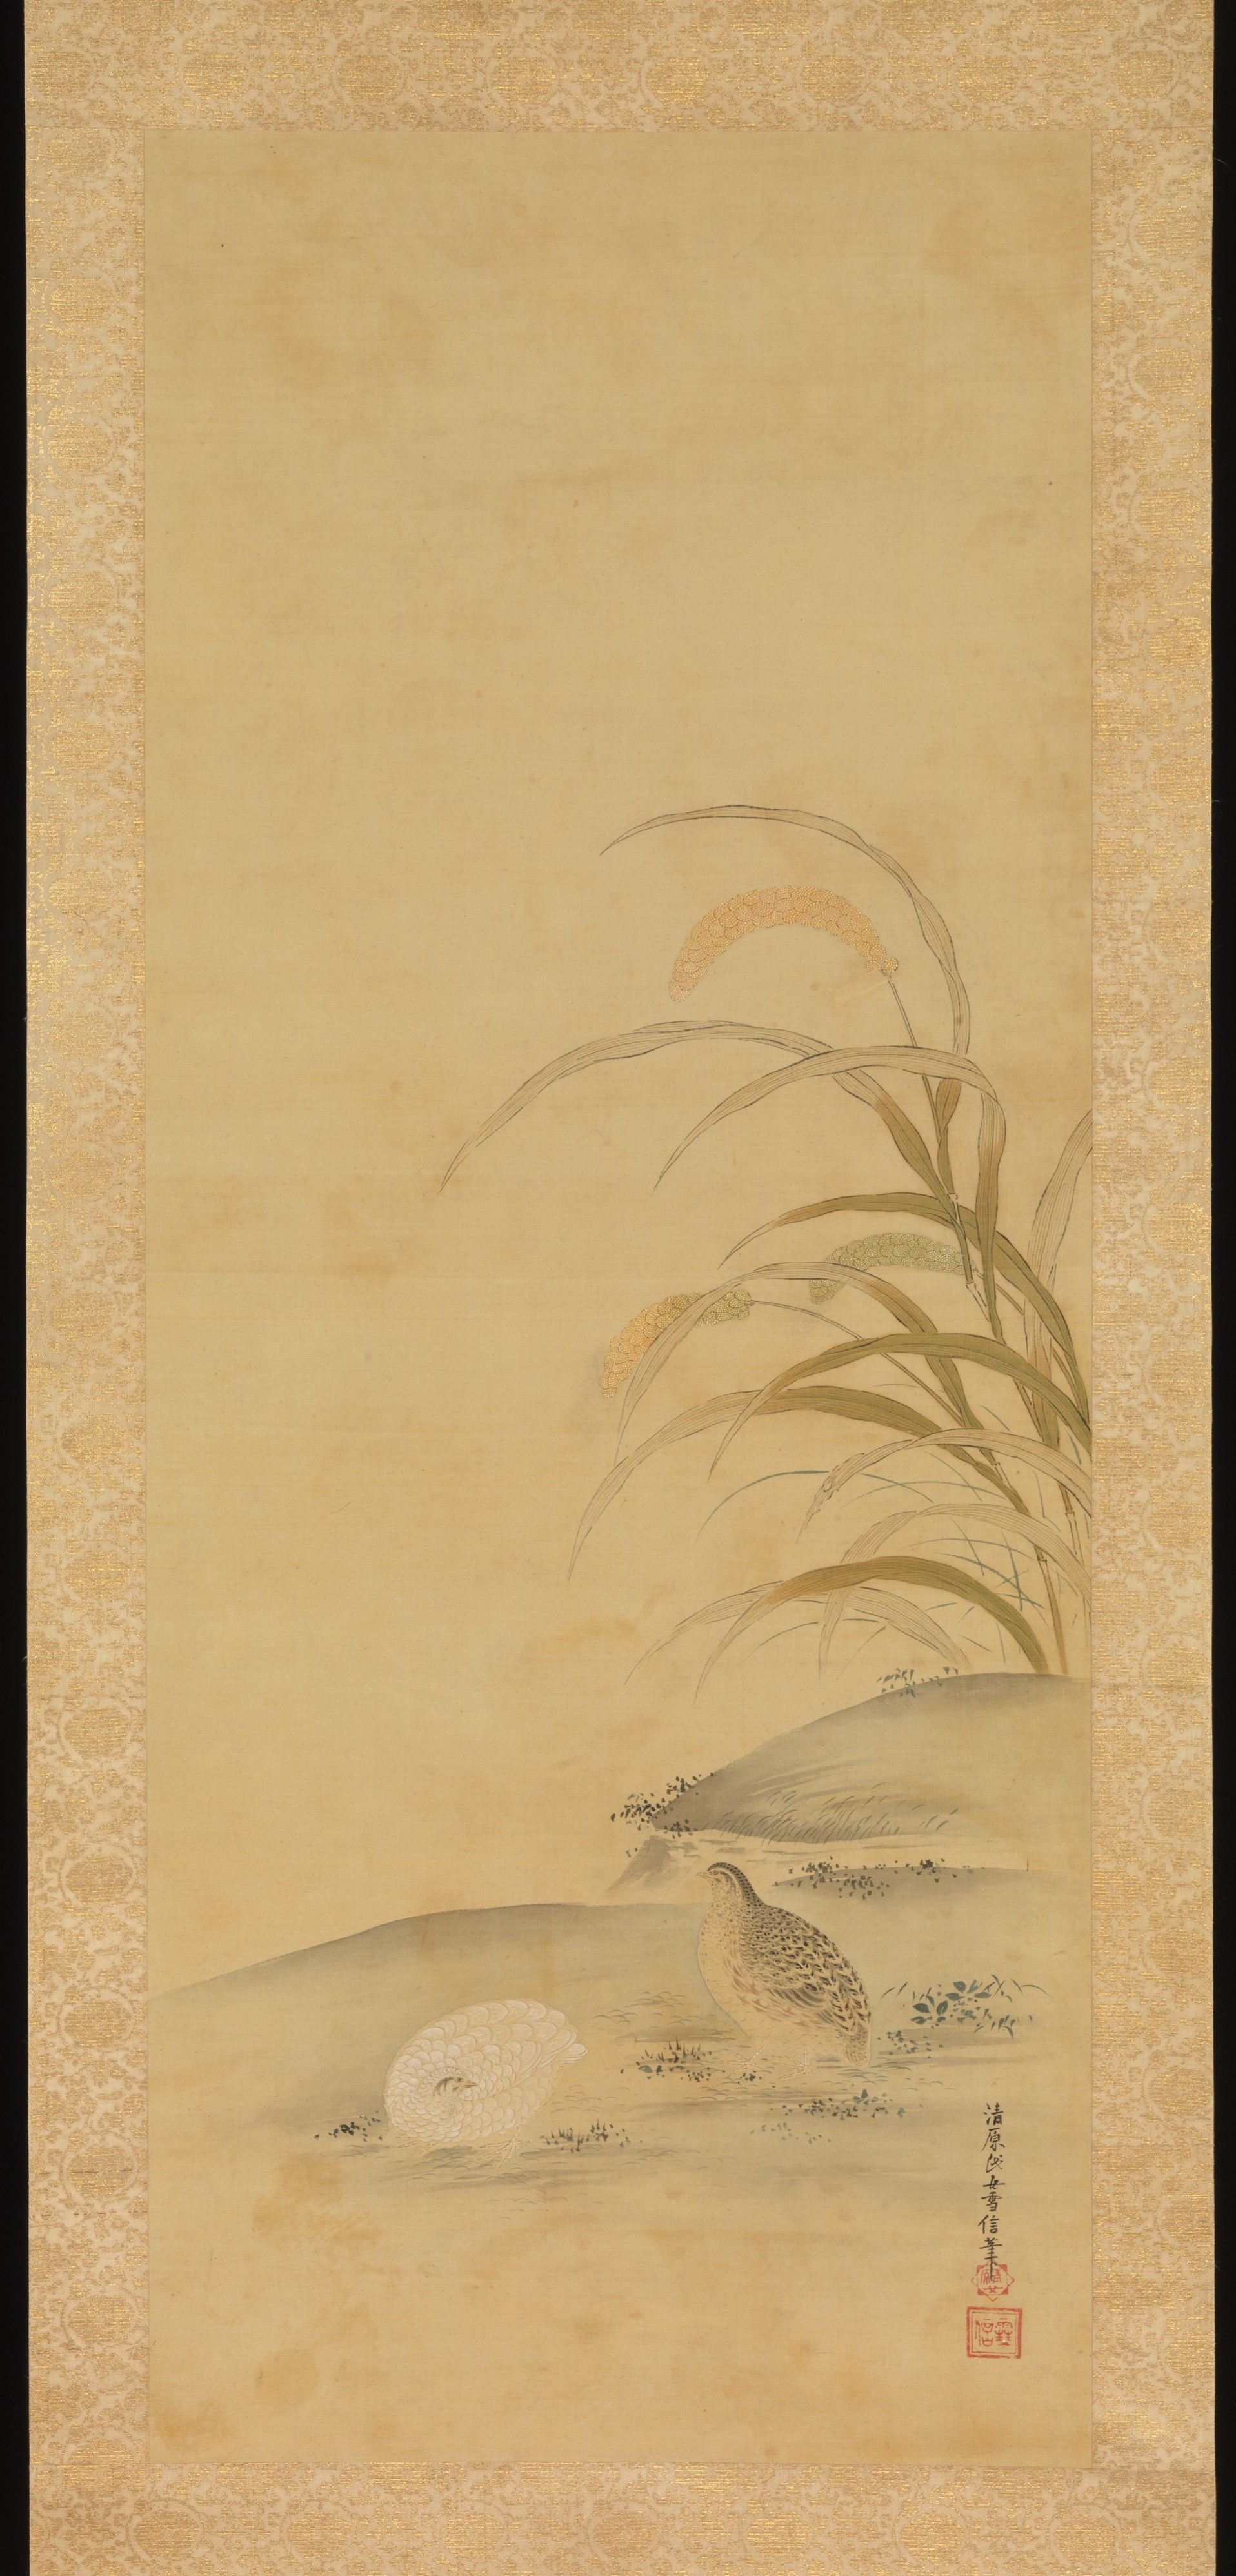
A ritual bronze vessel — rendering different surface textures requires combining contour, hatching, and stippling techniques
This guide covers the four core techniques you'll use most often.
1. Contour Drawing
Contour drawing is the foundation — it's about capturing the outline and internal edges of an object using clean, confident lines.
What It Communicates
The overall shape and proportions of the artifact
The profile (silhouette) that's diagnostic for classification
Structural features like rims, bases, handles, and joins
How to Practice
Blind contour: Without looking at your paper, trace the edge of the artifact slowly with your eyes while your hand follows on the page. This trains eye-hand coordination and forces you to really look.
Modified contour: Same idea, but you can glance at the paper occasionally to check proportions.
Outline refinement: Start with a light, loose outline, then go over it with a more deliberate line. Vary your line weight — thicker for outer edges, thinner for internal details.
Line weight convention
In archaeological illustration, the outer profile of an object uses the
thickest line. Internal features use progressively thinner lines. The thinnest
lines are for surface decoration and texture indications. This hierarchy helps
drawings read clearly even at small reproduction sizes.
When to Use It
Always — contour drawing is the skeleton of every archaeological sketch. Even a quick 2-minute journal entry benefits from a clean contour.
2. Hatching and Cross-Hatching
Hatching uses parallel lines to build up tone (light and shadow). Cross-hatching layers sets of lines at angles to create darker values.
What It Communicates
Three-dimensional form through light and shadow
Surface curvature — lines that follow the form suggest volume
Material smoothness — regular, parallel hatching suggests manufactured or polished surfaces
How to Practice
Start with simple exercises before applying to artifacts:
Value scale: Draw a row of small squares. Fill each with progressively denser hatching — from widely spaced lines (light) to tightly packed lines (dark). Aim for 5–7 distinct steps.
Curved hatching: Practice hatching that follows the curve of a cylinder. The lines should wrap around the form, getting closer together in the shadow areas.
Cross-hatching: Layer a second set of lines at 30–60° to the first. Add a third layer for the deepest shadows. Each layer should be consistent within itself.
Direction matters
In archaeological illustration, hatching lines traditionally run from
upper-left to lower-right (following the assumed light direction from the
upper left). Shadow hatching runs in the opposite direction. This convention
helps distinguish lit surfaces from shadow areas instantly.
Common Materials and Hatching Approaches
Material
Hatching Style
Metal (bronze, iron)
Very regular, closely spaced parallel lines. Smooth and mechanical-looking.
Polished stone
Regular hatching with gradual tonal transitions.
Ceramic (smooth)
Moderate hatching, slightly less rigid than metal.
Wood
Long, flowing lines following the grain direction.
Bone / ivory
Fine, closely spaced lines with subtle curvature.
3. Stippling
Stippling (also called pointillism in art contexts) uses dots to build up tone and texture. It's one of the most important techniques in archaeological illustration.
Stone tools like this are best rendered with stippling — dots capture the granular, chipped surface far better than lines
What It Communicates
Rough, granular, or porous surface textures
Stone and ceramic surfaces
A "neutral" tonal rendering that doesn't imply a specific surface direction the way hatching lines do
How to Practice
Stippling is simple in concept but requires patience:
Dot density exercise: Fill three squares — one sparse (light tone), one moderate (mid-tone), one dense (deep tone). Keep your dots randomly distributed, not in grid patterns.
Gradient practice: Create a smooth tonal gradient from light to dark using only dots. This is harder than it sounds — the key is gradual, even transitions.
Speed stippling: Set a 5-minute timer and stipple a simple sphere. This builds the muscle memory for efficient dot placement.
The wrist flick
Experienced stipple artists develop a quick wrist-flick motion that creates
clean, round dots rapidly. The pen should be perpendicular to the page.
Practice on scrap paper until the motion becomes rhythmic. Don't drag — each
dot should be a single tap.
When to Use It
Stippling is the go-to technique for:
Flint and chipped stone — the standard convention in lithic illustration
Corroded metal — showing the pitted, granular surface of oxidized bronze or iron
Unworked stone — natural rock surfaces on ground stone tools
Stippling vs. Hatching
A common question: when do you stipple and when do you hatch?
The general convention:
Hatching for smooth, manufactured, or polished surfaces
Stippling for rough, natural, or granular surfaces
Combined when an object has both (e.g., a polished stone axe with a rough butt end)
4. Cross-Section Drawing
Cross-sections show the internal profile of an artifact — as if you sliced it in half. They're essential in archaeological illustration and incredibly useful in your journal.
What It Communicates
Wall thickness of vessels
The shape of rims, bases, and handles in profile
Manufacturing technique (wheel-thrown vs. hand-built, cast vs. hammered)
The relationship between the interior and exterior of an object
How to Draw a Cross-Section
Identify the profile line: For a vessel, this is the edge you'd see if you cut it perfectly in half vertically. For a stone tool, it might be a horizontal slice showing the flaking pattern.
Draw the external profile on one side of a vertical center line.
Draw the internal profile (the interior surface) alongside it, showing wall thickness.
Fill the section — the convention is to fill the cut section with solid black. This instantly distinguishes the section from the surface view.
Convention
In published archaeological drawings, the cross-section typically appears on
the left side of the drawing, with the exterior surface view on the
right. The two halves are separated by a vertical center line. Even in
your journal, following this convention makes your drawings readable to other
archaeologists.
Practice Exercise
Find a mug or bowl in your kitchen. Draw:
The external view from one side
The cross-section profile, showing wall thickness at the rim, body, and base
This is a surprisingly effective exercise — everyday objects are great practice for the skills you'll use on ancient ones.
Combining Techniques
Real journal entries rarely use just one technique. A typical artifact sketch might include:
Contour lines for the overall shape
Cross-hatching for shadowed areas under a rim or handle
Stippling for a rough stone surface
A cross-section alongside the main drawing
The key is intent — choose the technique that best communicates the specific feature you're rendering.
Practice Prompts
Try these focused exercises to build your technique:
Hatching cube: Draw a cube and shade each visible face with differently-angled hatching to show the light direction.
Stipple sphere: Render a sphere using only dots. Pay attention to the highlight (no dots), midtone (sparse dots), shadow (dense dots), and reflected light (slightly fewer dots at the shadow's edge).
Profile drawing: Find 3 different vessels in your kitchen. Draw only their cross-section profiles, noting wall thickness variation.
Texture sampler: Divide a page into 6 squares. In each, attempt to render a different texture: smooth metal, rough stone, glazed ceramic, woven textile, carved wood, corroded bronze.
These exercises transfer directly to your artifact journal entries. Technique becomes invisible as it becomes habitual — and that's when the real seeing begins.